

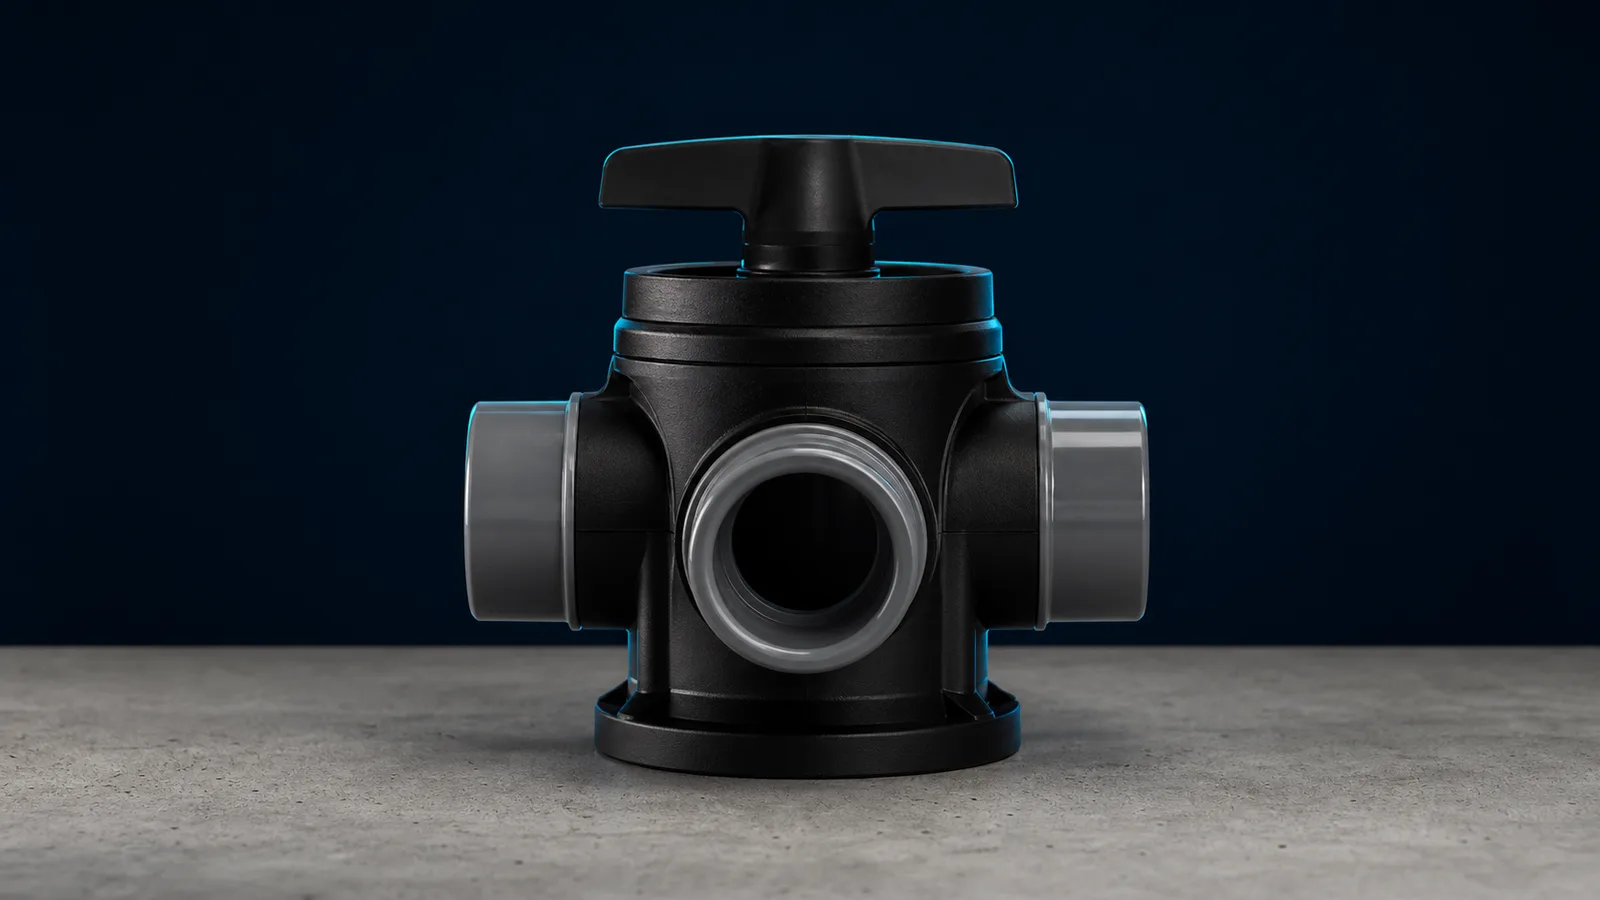
Diverter valves are the levers that make a pool/spa combo work, and they wear out in slow motion: first the handle gets stiff, then the spa starts losing water to the pool, and eventually the valve weeps at the cover. None of that requires replacing the valve body. A rebuild kit renews everything that moves and everything that seals, with the body still glued in the plumbing.
What wears inside a diverter valve
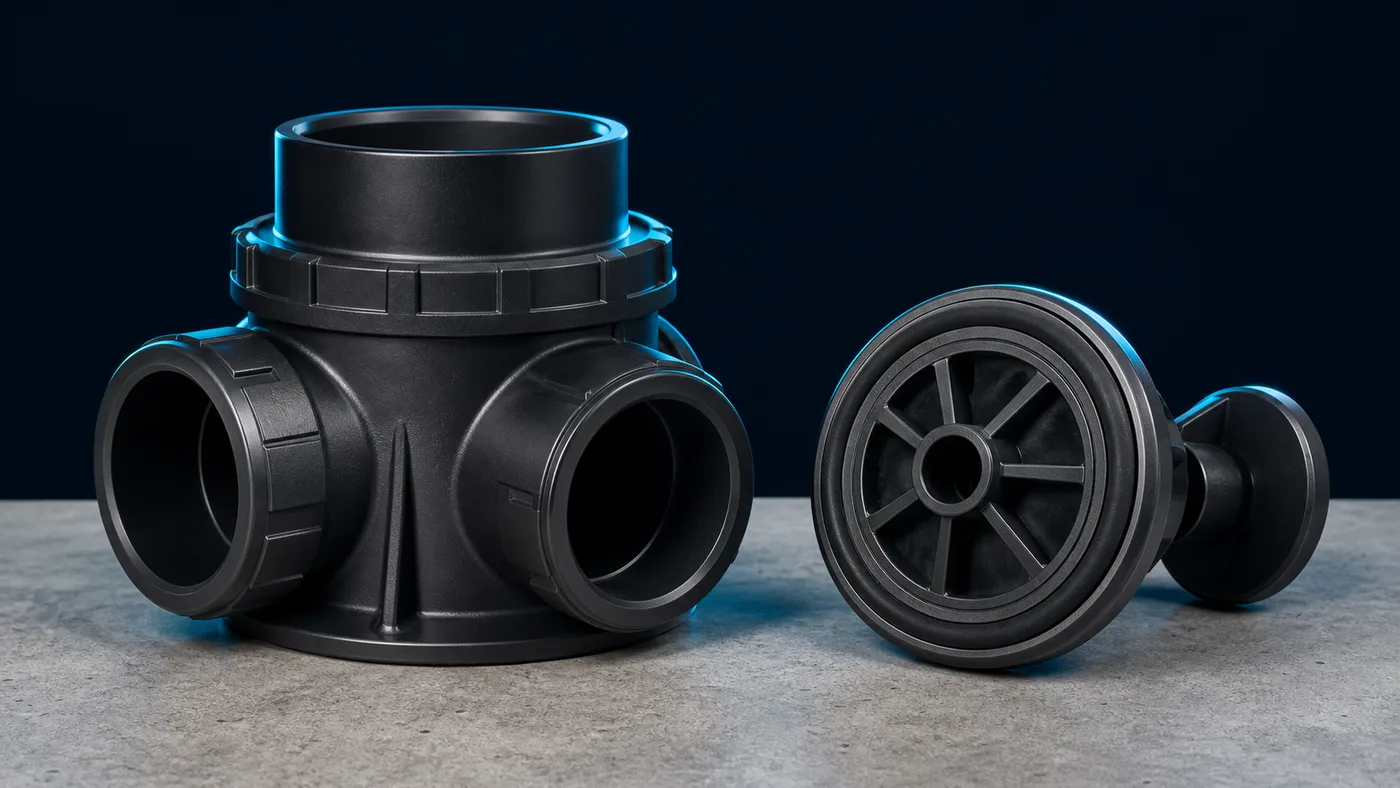
A 2-port valve starts and stops flow in a single line; a 3-port valve routes flow between two lines — pool suction versus spa suction, pool return versus spa return. Inside either style, the moving part is a diverter that rotates within the valve body to open some ports and blank others. Three things wear:
- The diverter's sealing surface, which drags across the port openings every time the valve turns and slowly loses its ability to blank a port completely.
- The cover and shaft sealing rubber, which hardens with age, heat and sanitizer exposure until the valve weeps at the top.
- The handle and its engagement teeth, which round off after years of switching and stop holding a position firmly.
Automated pads wear faster than manual ones. An actuator cycles the diverter every time the system switches between pool mode and spa mode, so a valve on an automated combo pad can see more actuations in one season than a manual valve sees in ten years.
Symptoms of a valve that needs a rebuild
Leaks past the diverter. The signature complaint on a combo pad: the spa slowly equalizes into the pool through a valve that is supposedly closed, or spa jets stay weakly alive in pool mode. Owners often chase this as a shell leak when it is really an internal bypass at the valve.
Stiff or slipping handle. A valve that takes two hands to turn is telling you the internal sealing surfaces have dried out or scaled up. A handle that turns freely but no longer changes the flow has stripped its engagement with the diverter shaft.
Weeping at the cover. Water tracking down the outside of the valve body, scale ringing the cover joint, or a drip that appears only while the pump runs — all point at cover and shaft sealing past its service life.
Any one of these symptoms means the others are close behind. The same aged rubber and worn plastic are behind all three, which is why a complete kit beats piecemeal parts.
What the rebuild kit includes
POOLPOINT's 4720 rebuild kit for 2-port and 3-port valves includes the diverter, the cover and the handle — the complete internal assembly. That matters in practice. Swapping a new diverter under a worn cover, or a new cover under a rounded-off handle, leaves the job half done and the callback scheduled. With the full assembly installed, the glued valve body becomes the only original part left, and the body is the one component that essentially never wears out.
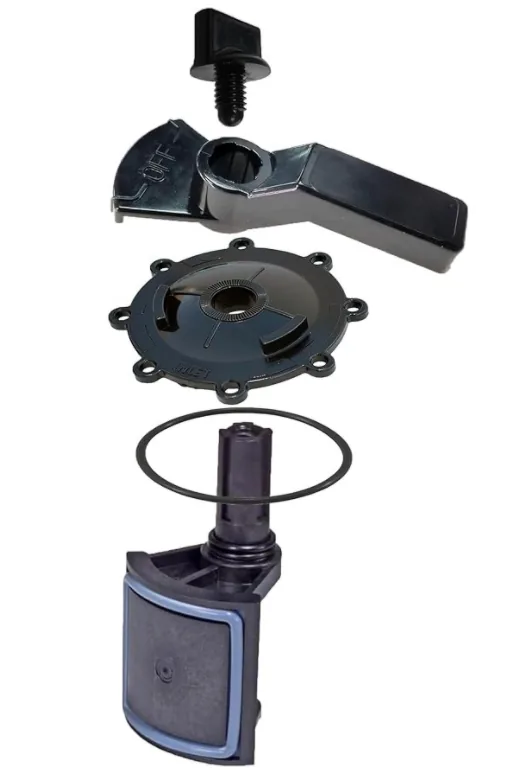
The kit serves Jandy valve numbers 4606, 4715, 4716, 4717, 4720 and 7433 — see the cross-reference table below.
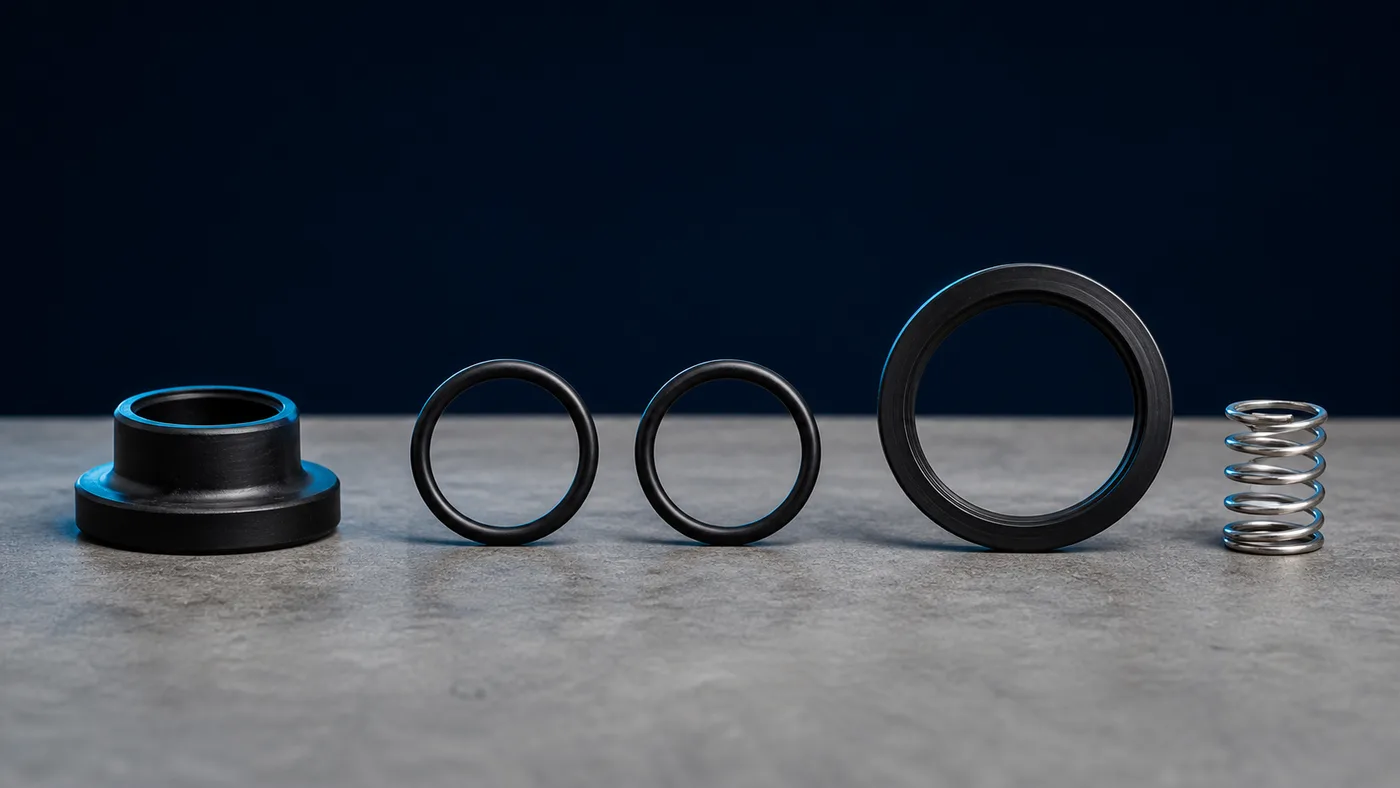
Step-by-step rebuild
- Shut off pump power at the breaker and relieve pressure at the filter's air relief valve. On a pool/spa combo the spa side holds elevated water — set the remaining valves so it cannot drain through the open valve while you work, and expect some water anyway.
- If the valve carries an actuator, note its orientation, unbolt it and set it aside without disconnecting the wiring.
- Remove the handle hardware, then the cover screws, and lift the cover and diverter assembly out of the body.
- Inspect the inside of the body. Wipe out scale and debris and run a finger across the port lands. Smooth is a green light; deep gouges from years of grit are the one finding that argues for cutting the body out instead.
- Seat the new diverter and cover assembly in the body, aligning the diverter position with the handle's labeled position so that "spa" on the valve actually means spa.
- Tighten the cover screws evenly in a cross pattern, a little at a time. Pulling one corner down first warps the cover and creates the very leak you came to fix.
- Fit the handle, cycle the valve through its full travel by hand to confirm smooth, positive stops, then remount the actuator if there is one and verify it drives to the correct positions.
Restore power and test in both modes: the spa should hold its level with the valve in pool mode, and the cover should stay dry through a full heat-up cycle.
Rebuild or replace the whole valve
Rebuild when the body is sound, which is nearly always. Replace the complete valve only when the body itself is cracked from freeze damage, when the port lands are deeply gouged, or when a previous repair glued mismatched parts onto it. Cutting out a valve body means couplings, lost pipe length, glue joints and a bigger invoice; a rebuild is screws and minutes.
Cross-reference table
| OEM number | POOLPOINT part | Notes |
|---|---|---|
Jandy 4606 |
4720 |
2/3-port valve rebuild — diverter, cover and handle |
Jandy 4715 |
4720 |
2/3-port valve rebuild — diverter, cover and handle |
Jandy 4716 |
4720 |
2/3-port valve rebuild — diverter, cover and handle |
Jandy 4717 |
4720 |
2/3-port valve rebuild — diverter, cover and handle |
Jandy 4720 |
4720 |
Direct cross |
Jandy 7433 |
4720 |
2/3-port valve rebuild — diverter, cover and handle |
Confirm the number molded into your valve body or printed on the original cover before ordering. That number, not the brand mix on the pad, determines fit.
Sourcing
POOLPOINT manufactures the 4720 valve rebuild kit factory-direct for US distributors, pool service companies and online sellers. MOQ starts at 50 pcs per SKU with private label packaging available — request a quote for wholesale pricing.